During week 3 we were asked to do some basic physic tasks, related to what we’ve done during the lecture.


During week 3 we were asked to do some basic physic tasks, related to what we’ve done during the lecture.
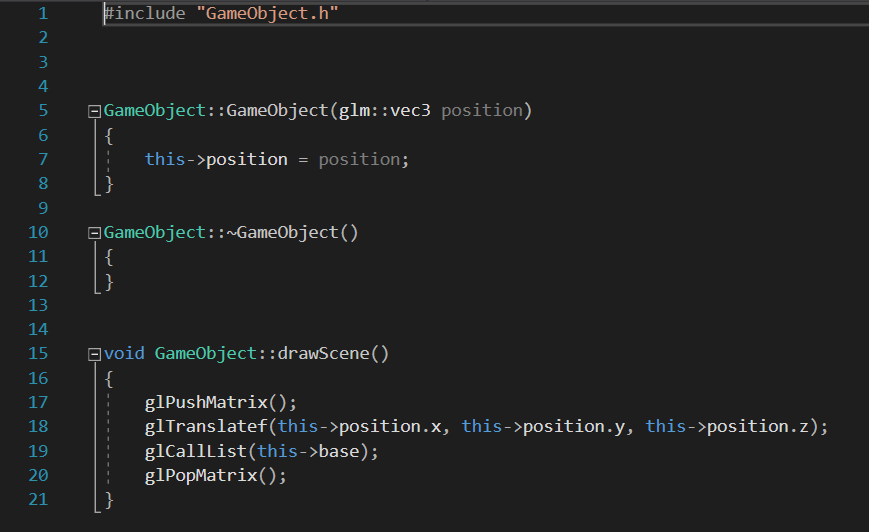
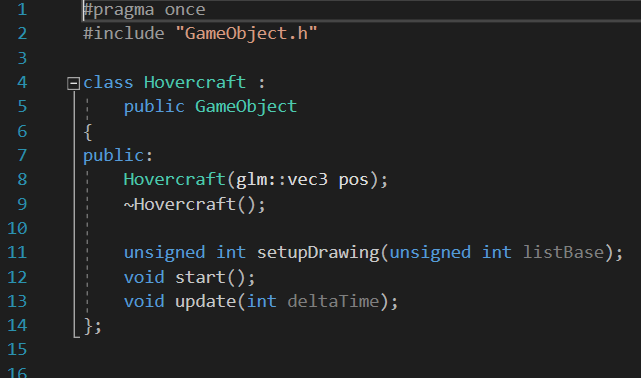
In week 3 we begin our game engine tutorial with creating the Hovercraft class. It’s the same scheme as the last week for the obstacle. We crate both header and CPP files, with functions and definitions. But in this case, we want to use inheritance. This is one main gameobject class that will contain functions for other gameobjects, like obstacles, Hovercraft in the future for the racetrack.

I set up the whole gameObjest class, by setting all the variables that we’ll need, like glut or glew. Then moved the important information like position or base so that we can store the information about the number of the game objects in the game itself.
Then I jumped to the obstacle class to set up the inheritance from the GameObject class. It was very easy to do. So I did the same with the hovercraft.
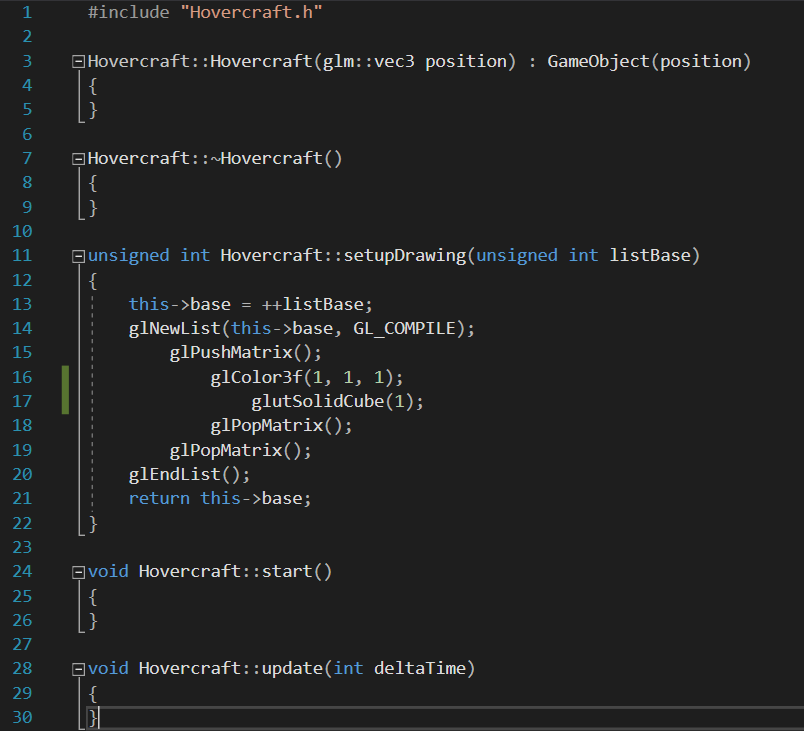
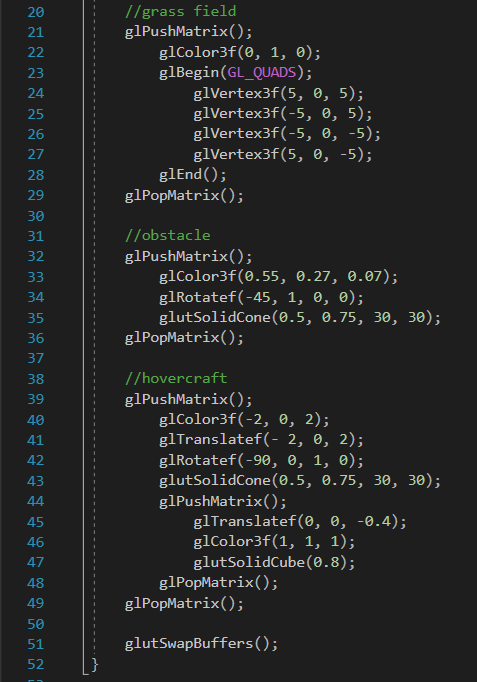
I changed the drawing method and removed the cone that was drawn with the govercraft, so the only left pice is the cube itself.
As everything was drawn I worked on the scene for a little bit more. I added the racetrack, but not from the model, but from the drawing method. I used the gl triangle strips to do it, by the for the function I draw the bunch of triangles, just by setting the right position. The fun began while doing the turnings on the racetrack. I experimented with the correct mathematical equations to do that, and various positions, but I finally got the thing that I wanted. I wrote everything on paper and figured this out.
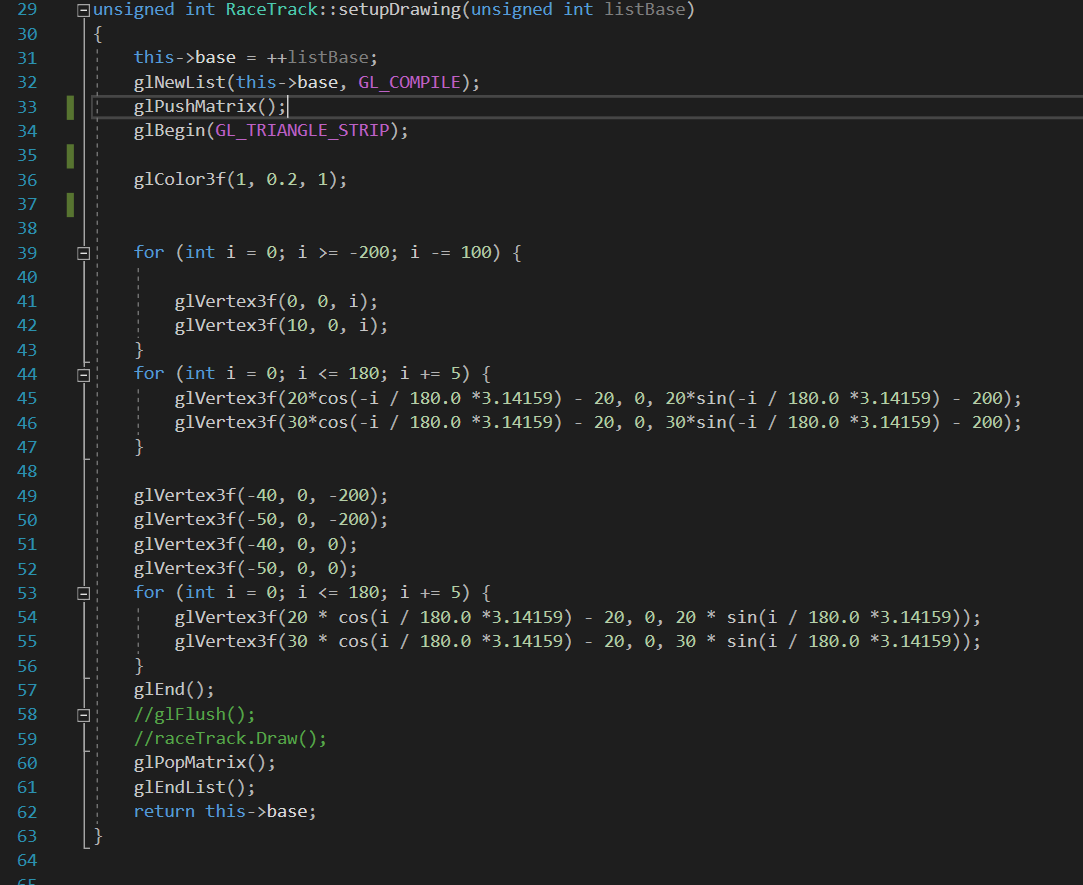
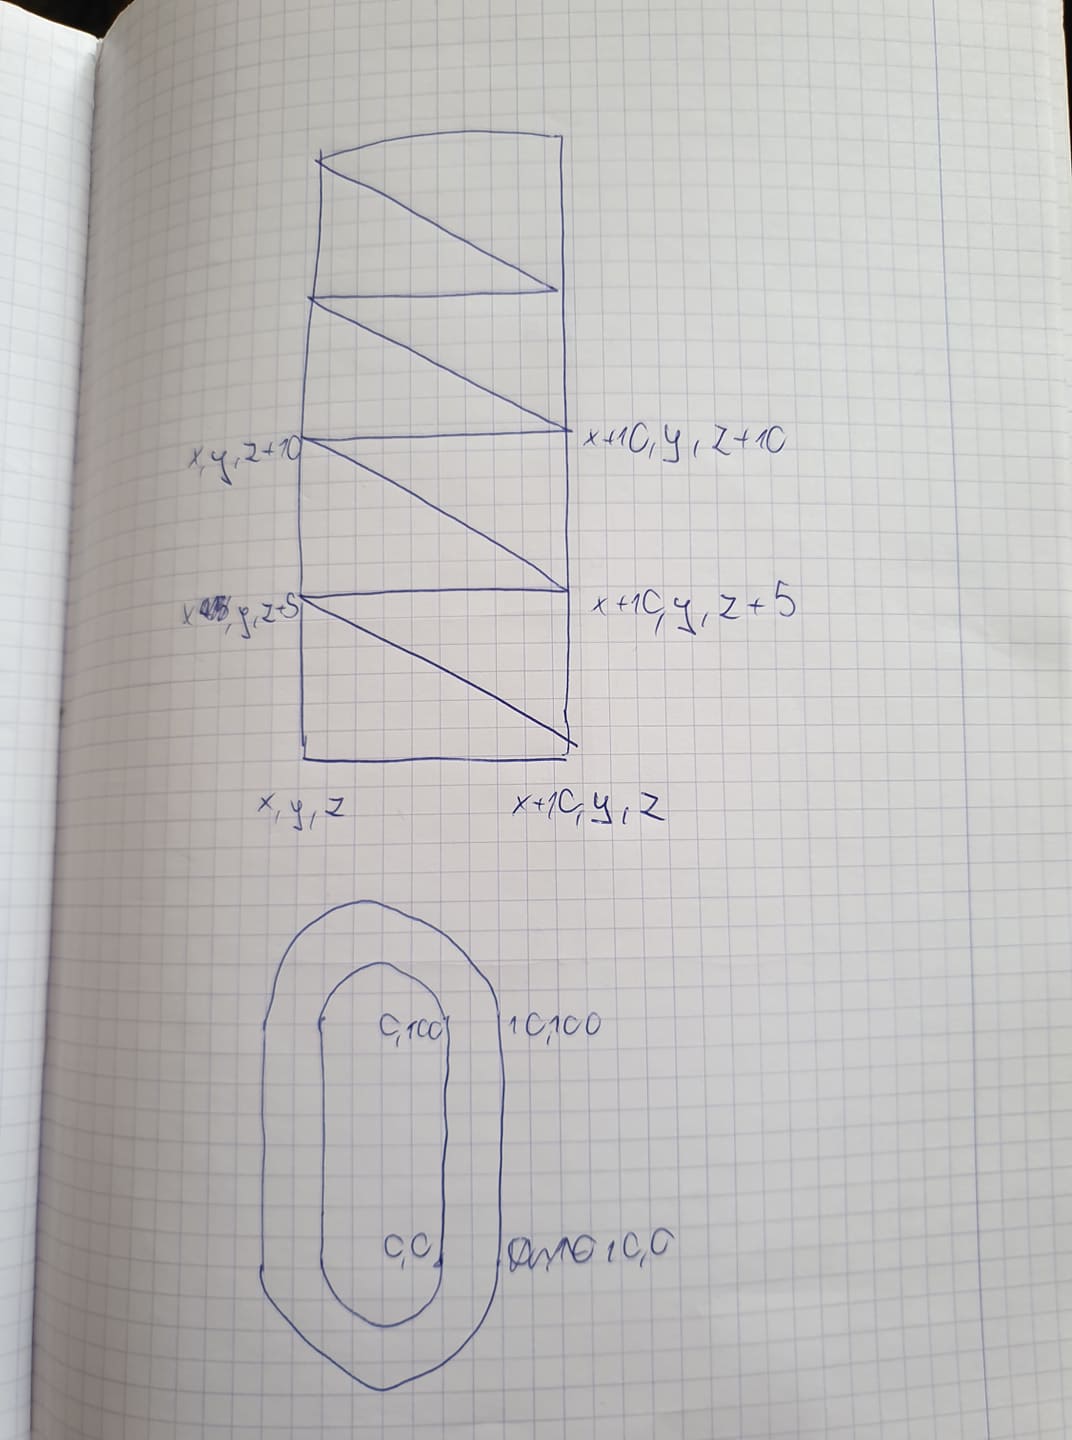
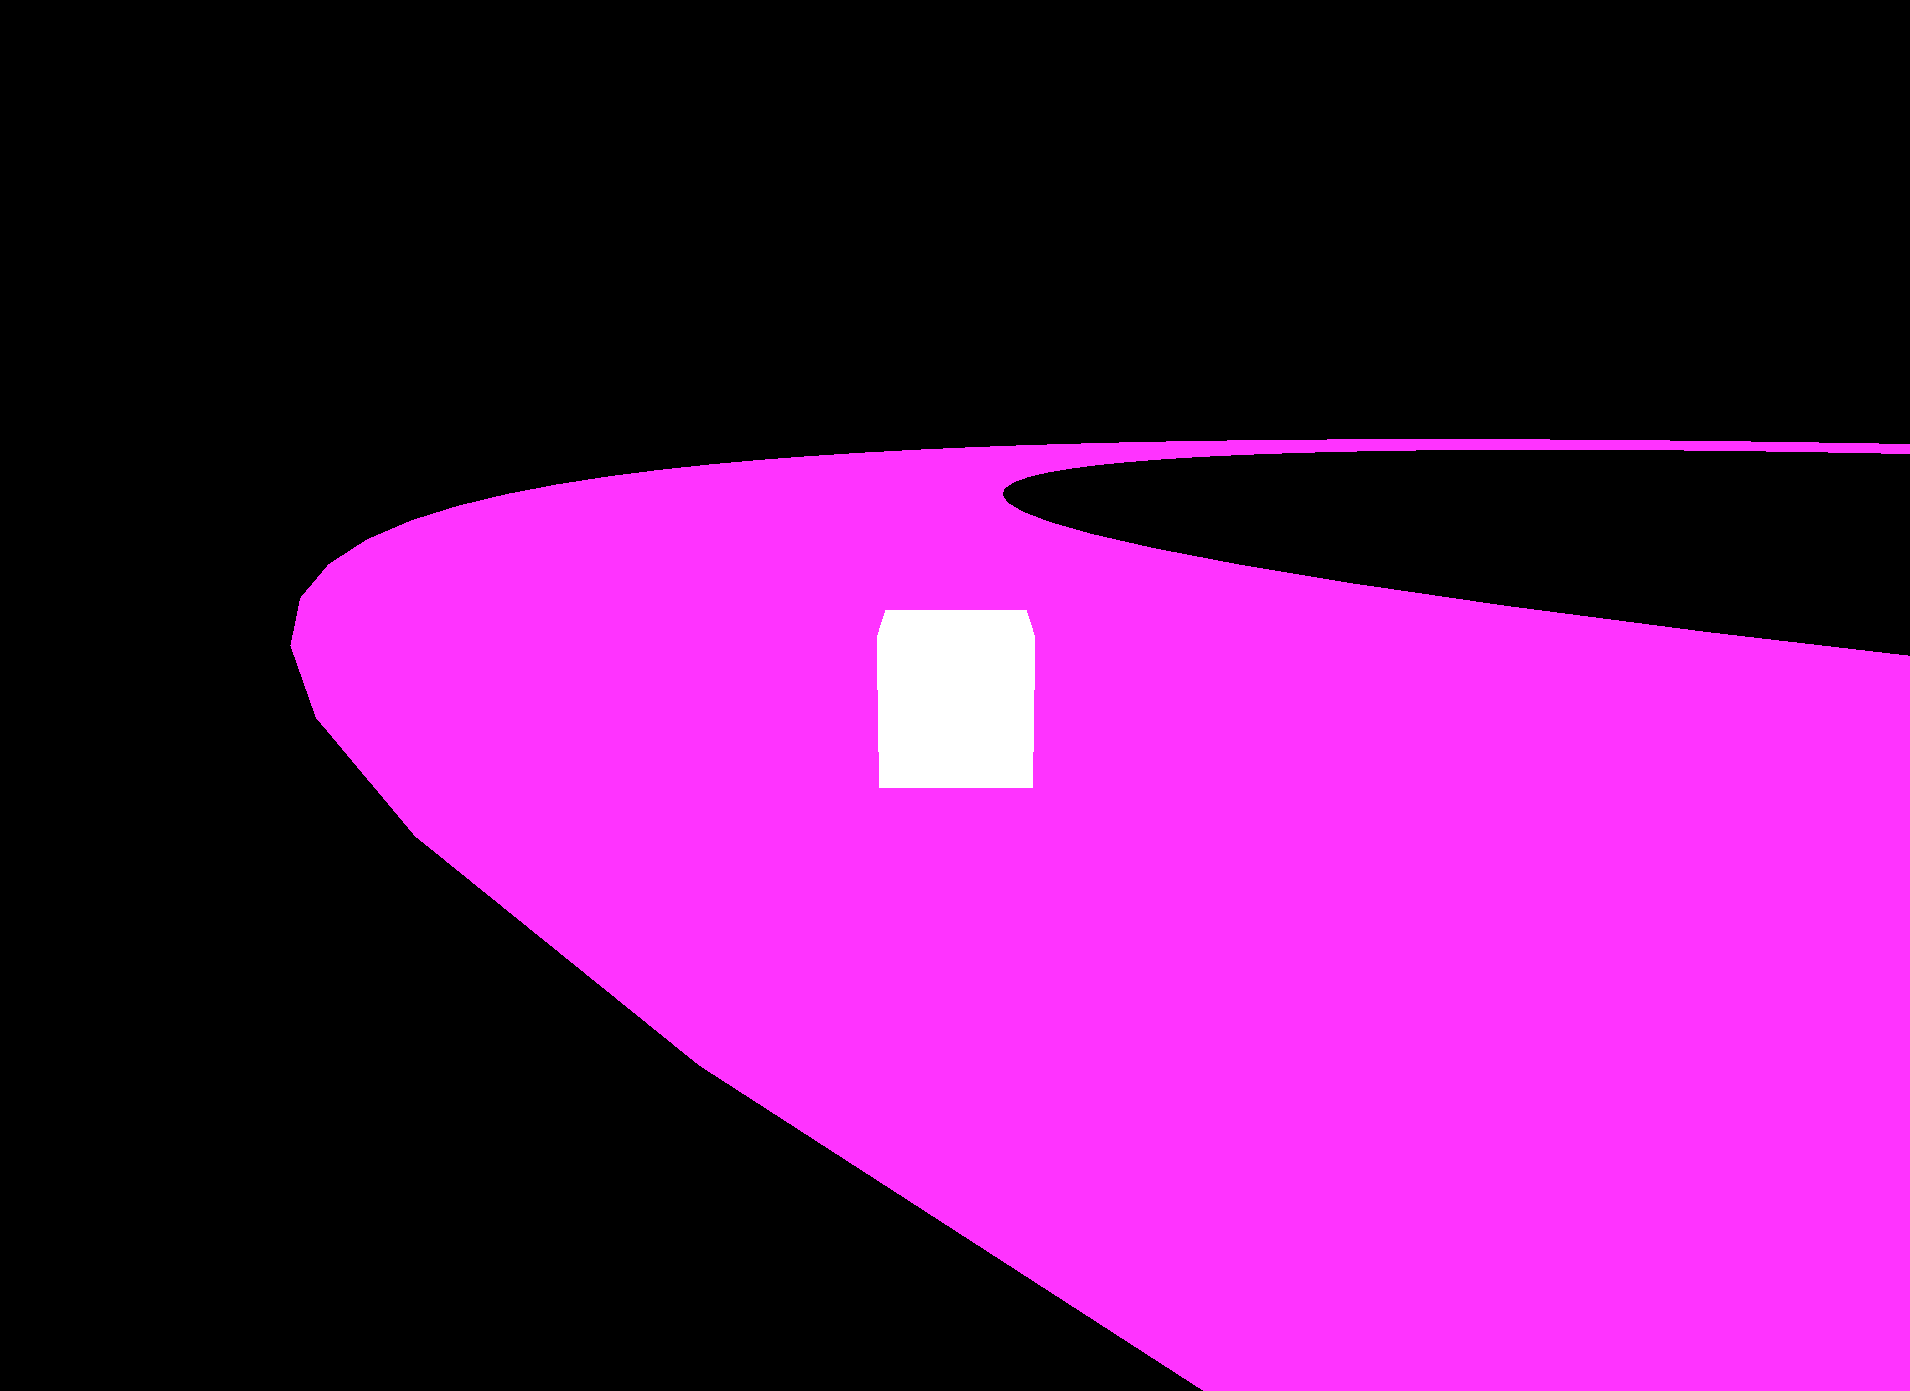
So this is the result showing the turning part of the racetrack and the Hovercraft. You can see not too smooth eedges of the racetrack, but this is enought for this project.
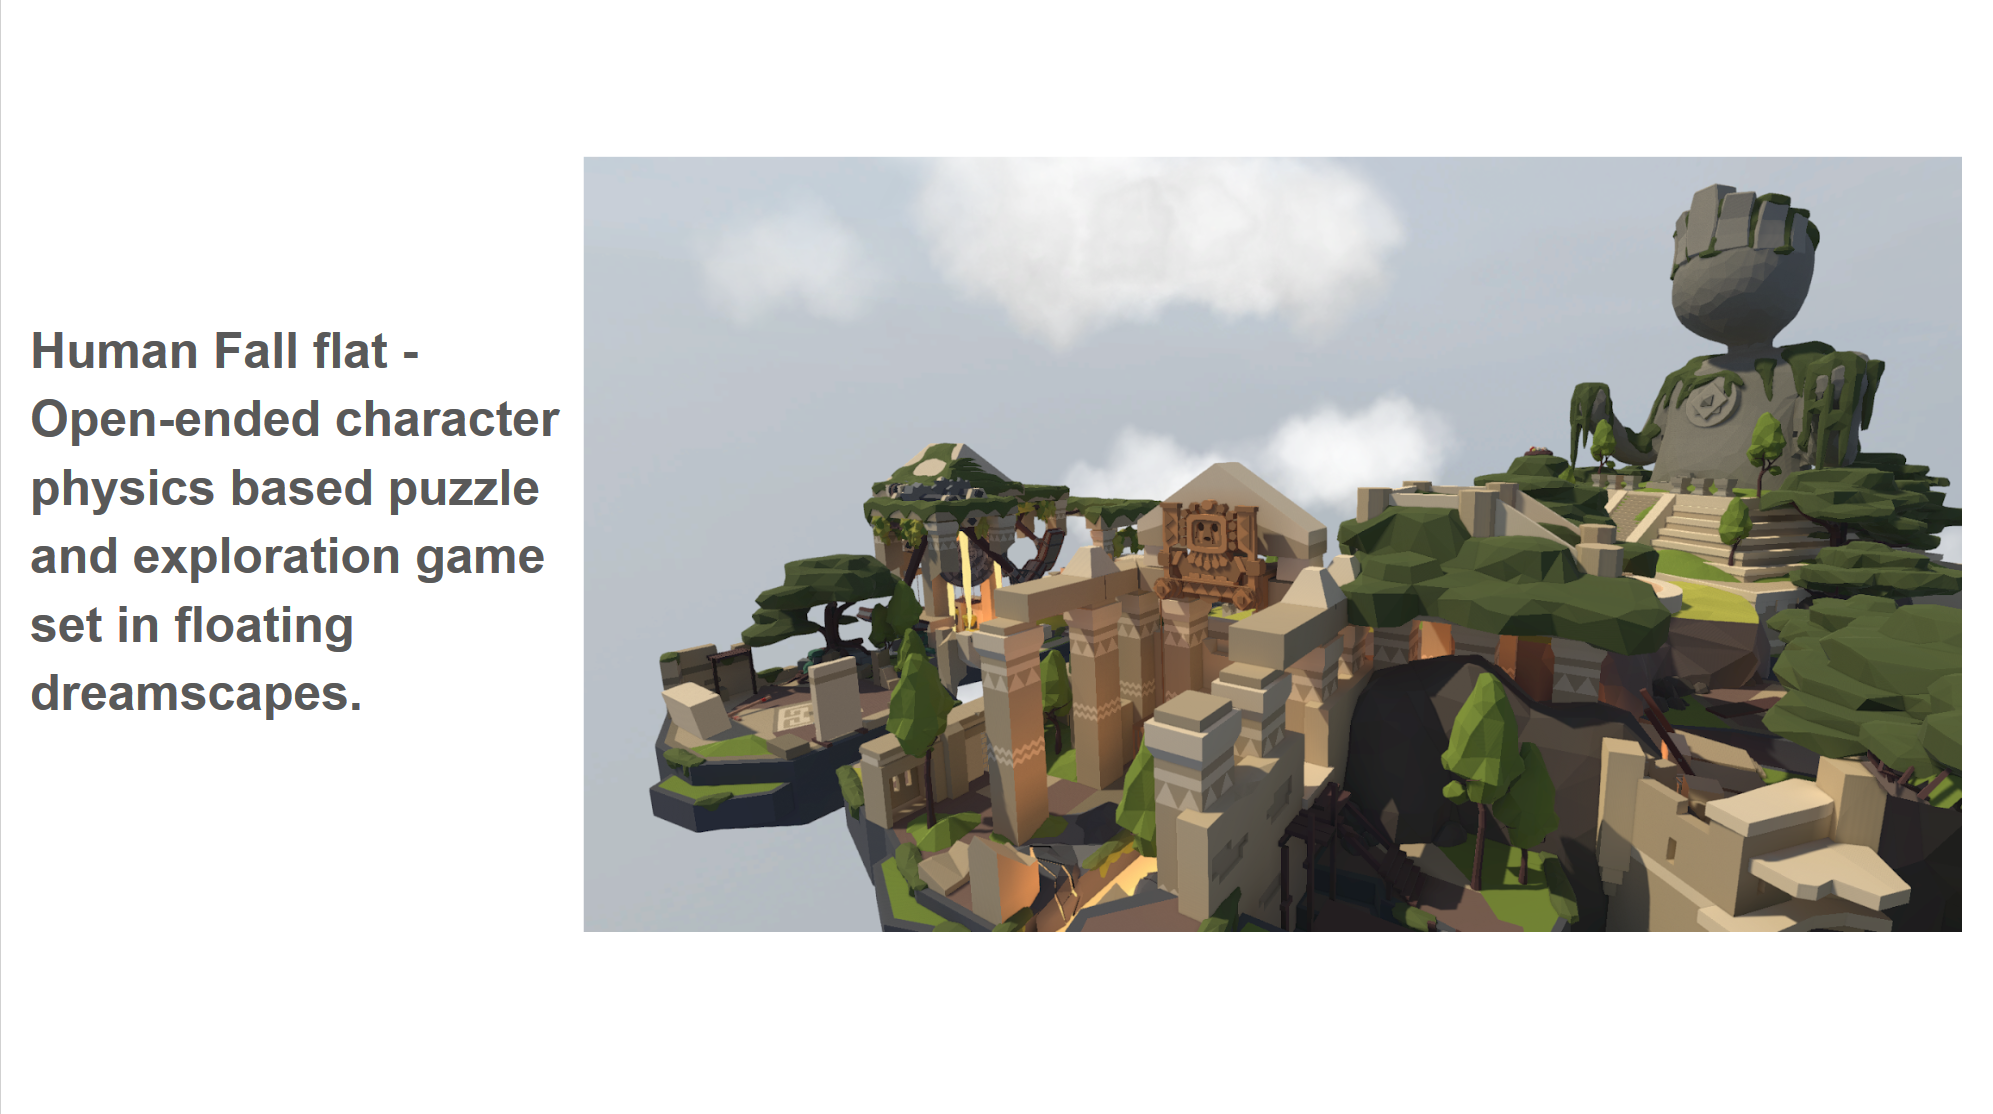
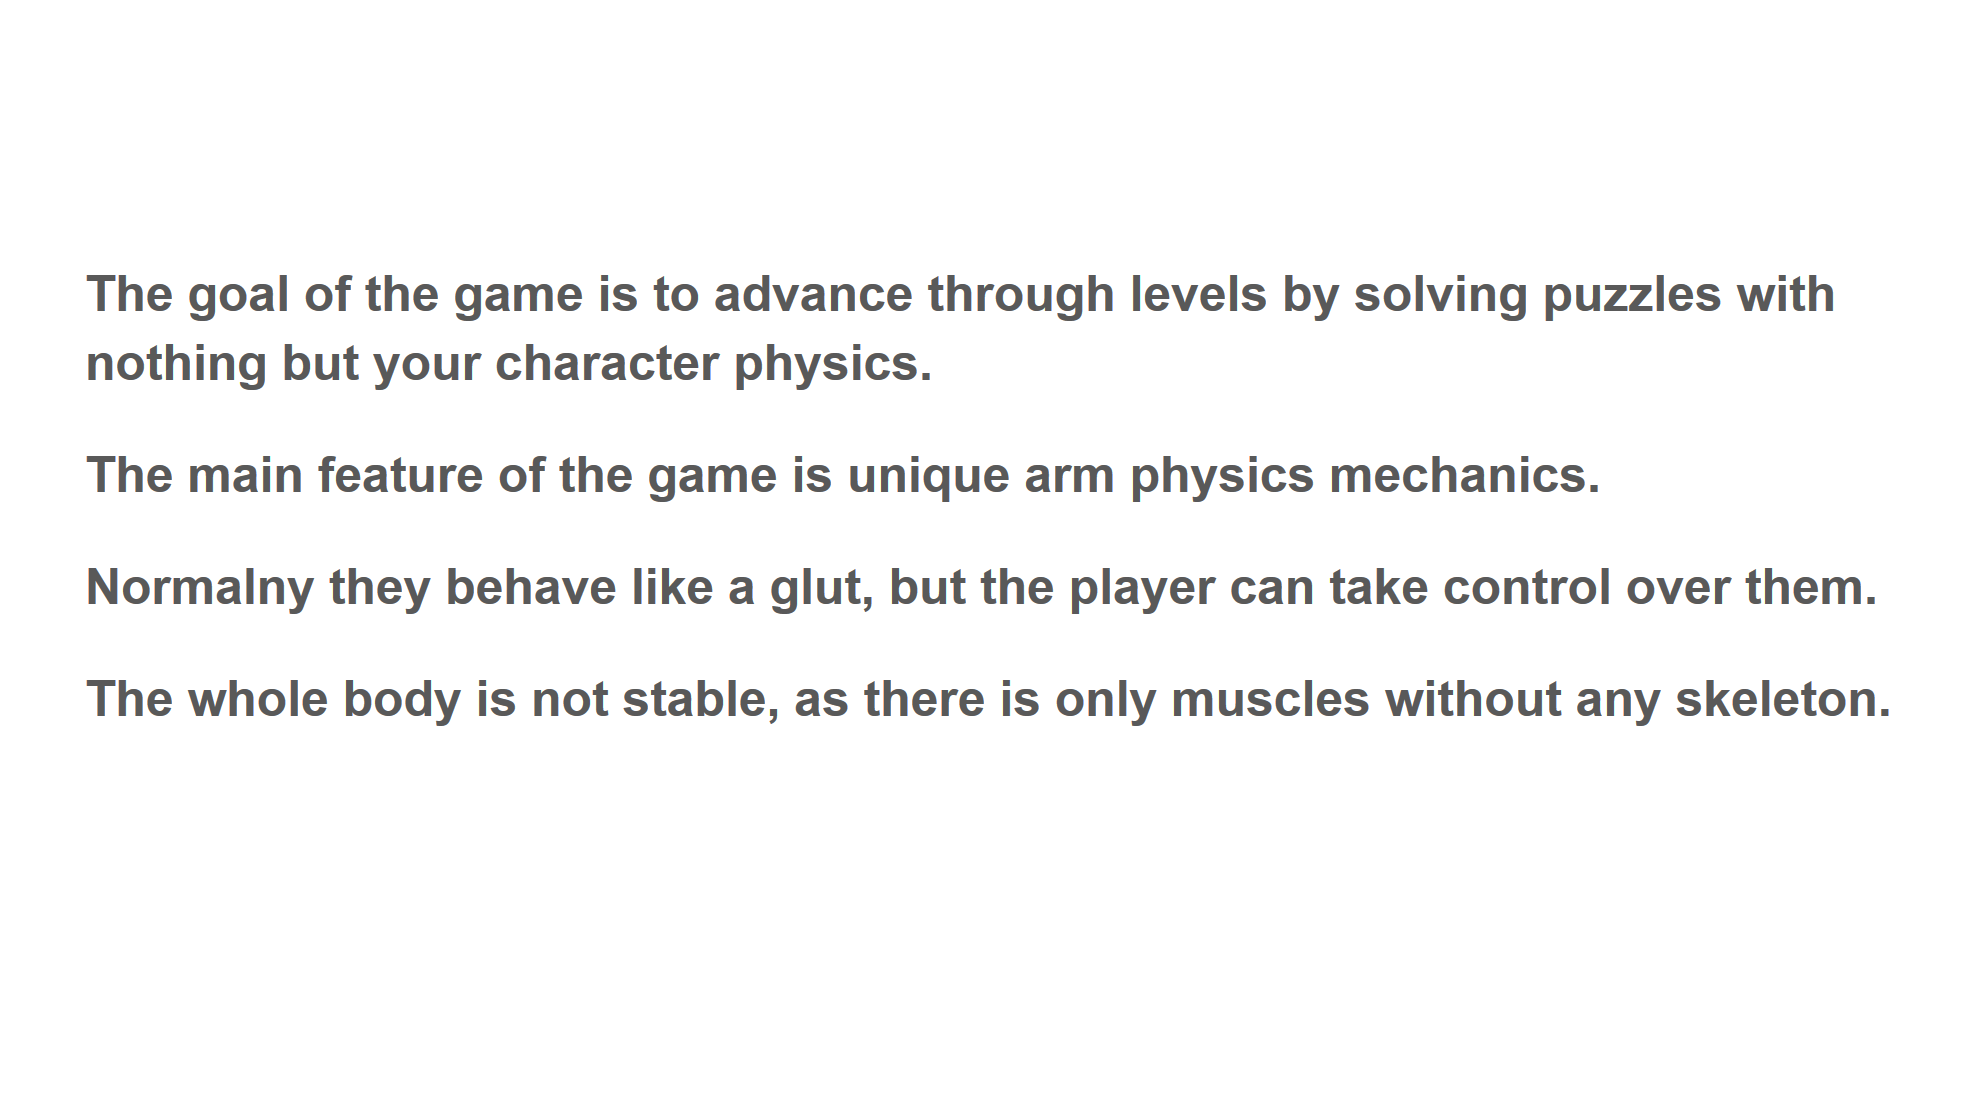
Our last task for week 2, was to present the physics in one chosen video game. My group chose – “Human Fall Flat”. It’s the physic based game, that requires you to solve numerous puzzles using forces of physics. You control your character, and with other players, you need to grab the items, climb the walls and jump to find the answers to the puzzle. Your character is more like a gelly, then a real human skeleton, so it’s really hard to even stand. Here is the link to the Video that we recorded:
The physics in this game is very likely like in real life, but a little overextended. Objects move more easily, there is only a little friction and objects stick to your hands. Here are some slides from the presentation.
By playing the game user learns how the physics in this world works. When you’re first dropped in the game, you have no idea how to move, climb or properly interact with the objects. So this is kind of a game, when the practice is crucial. You need to learn a lot about the physics in this game too fully understand it. It took me about 2 hours to play the game without any troubles, but even after a lot more time spent in this world, there are still things that can surprise you.
Group: Arnas Alaburda, Bartosz Ciechanowski
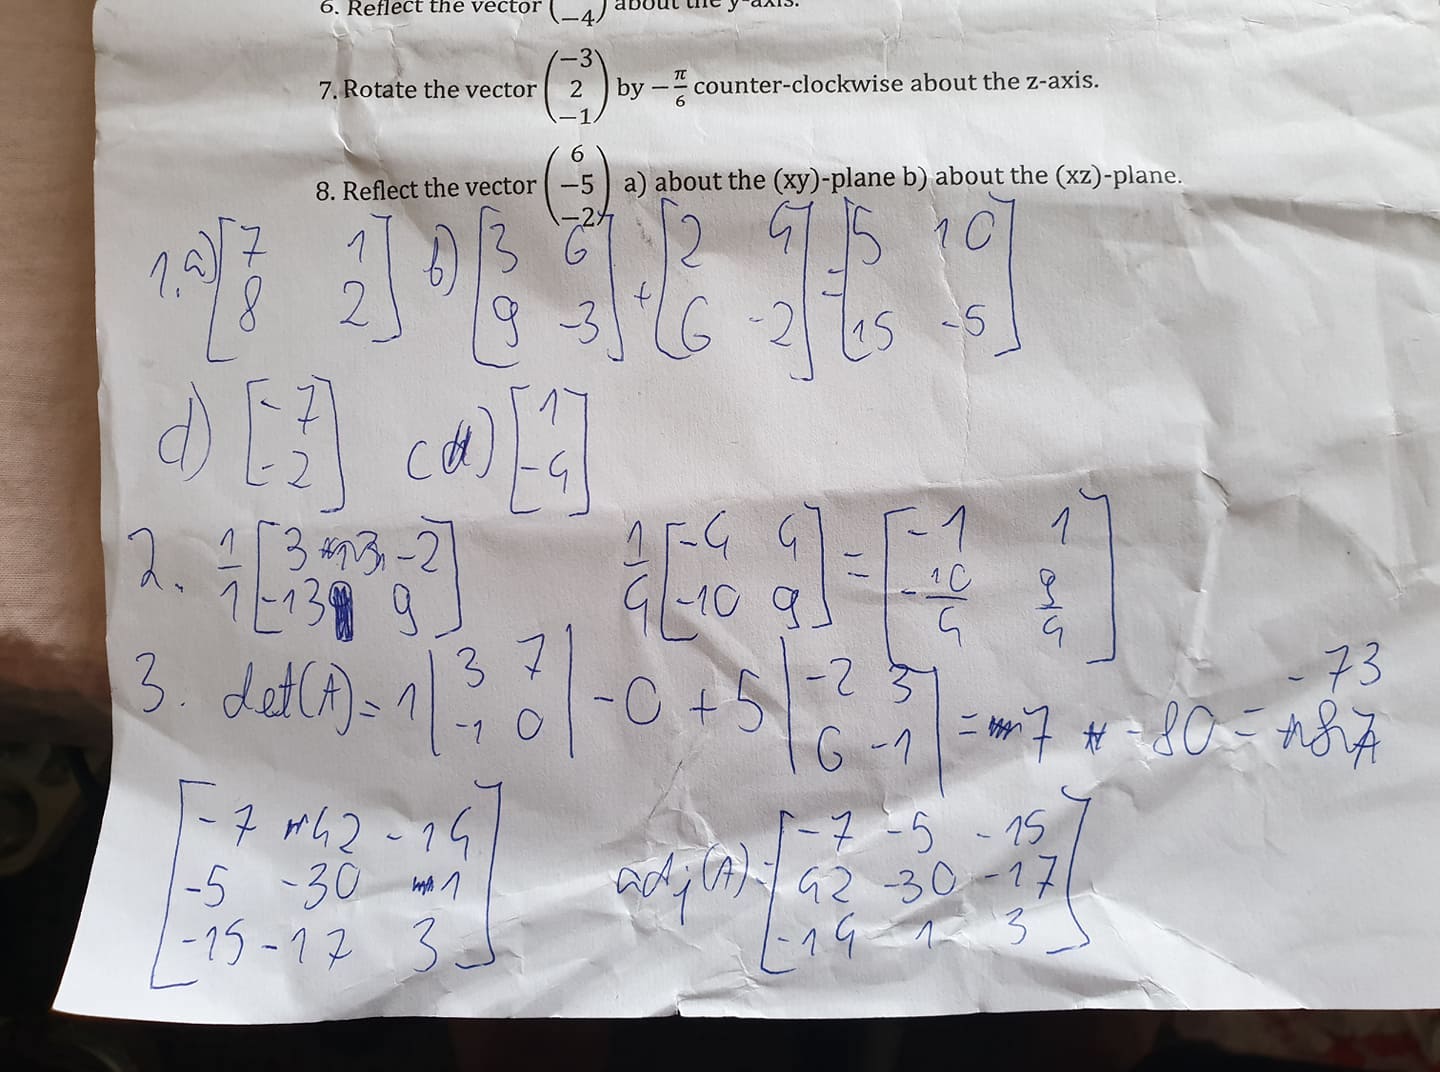
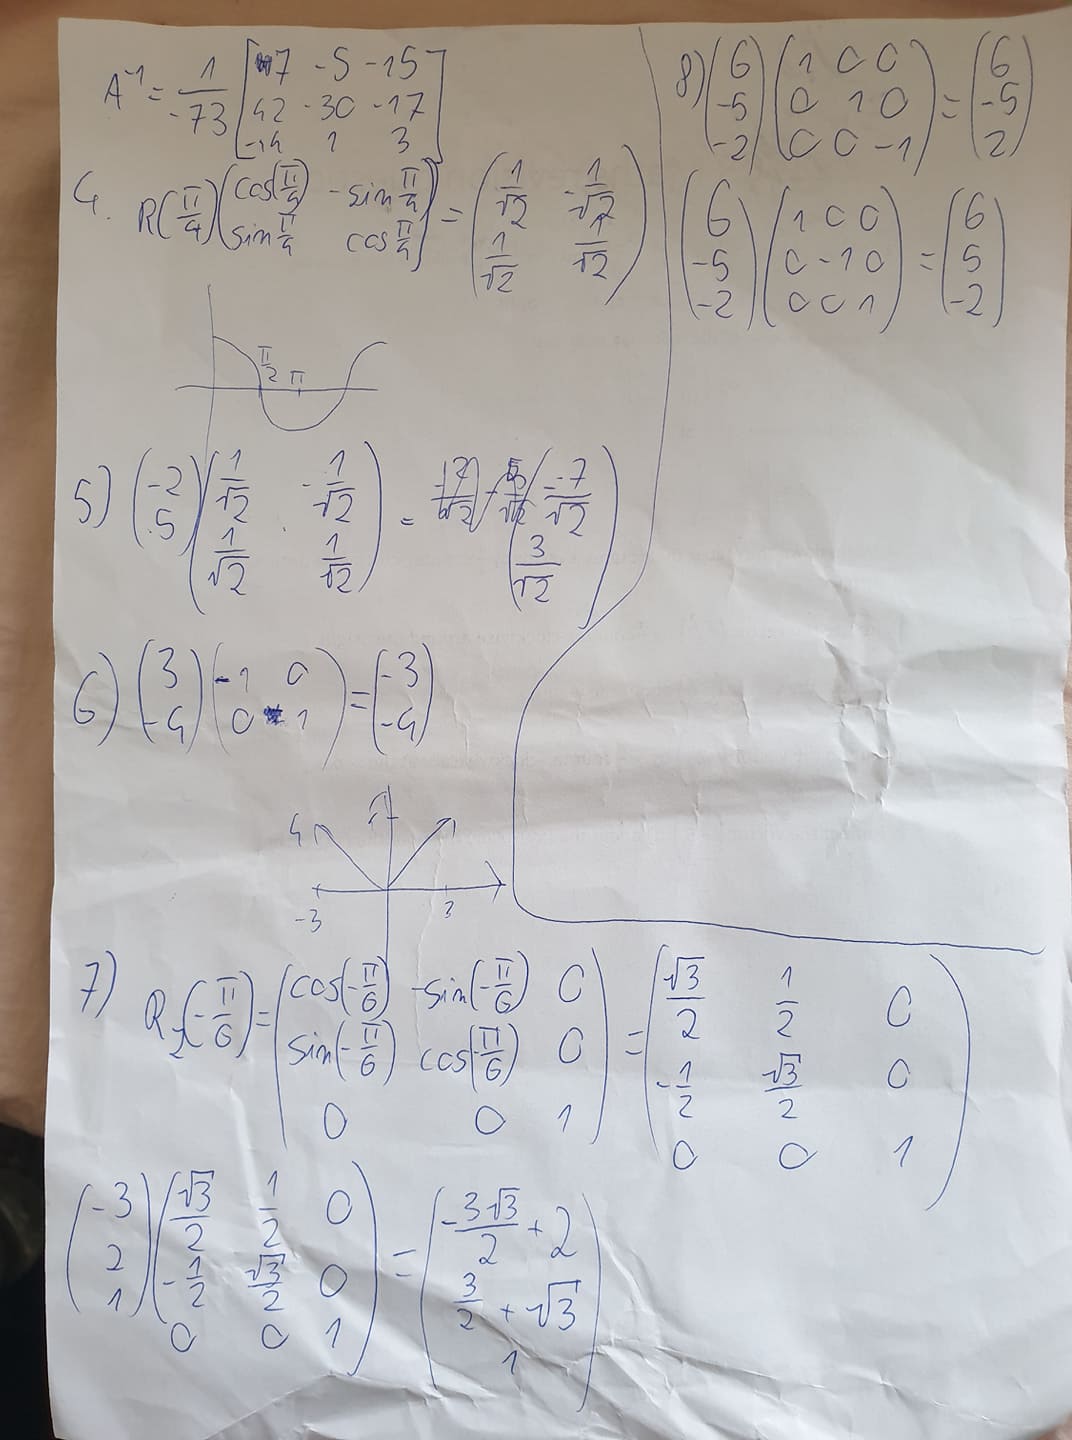
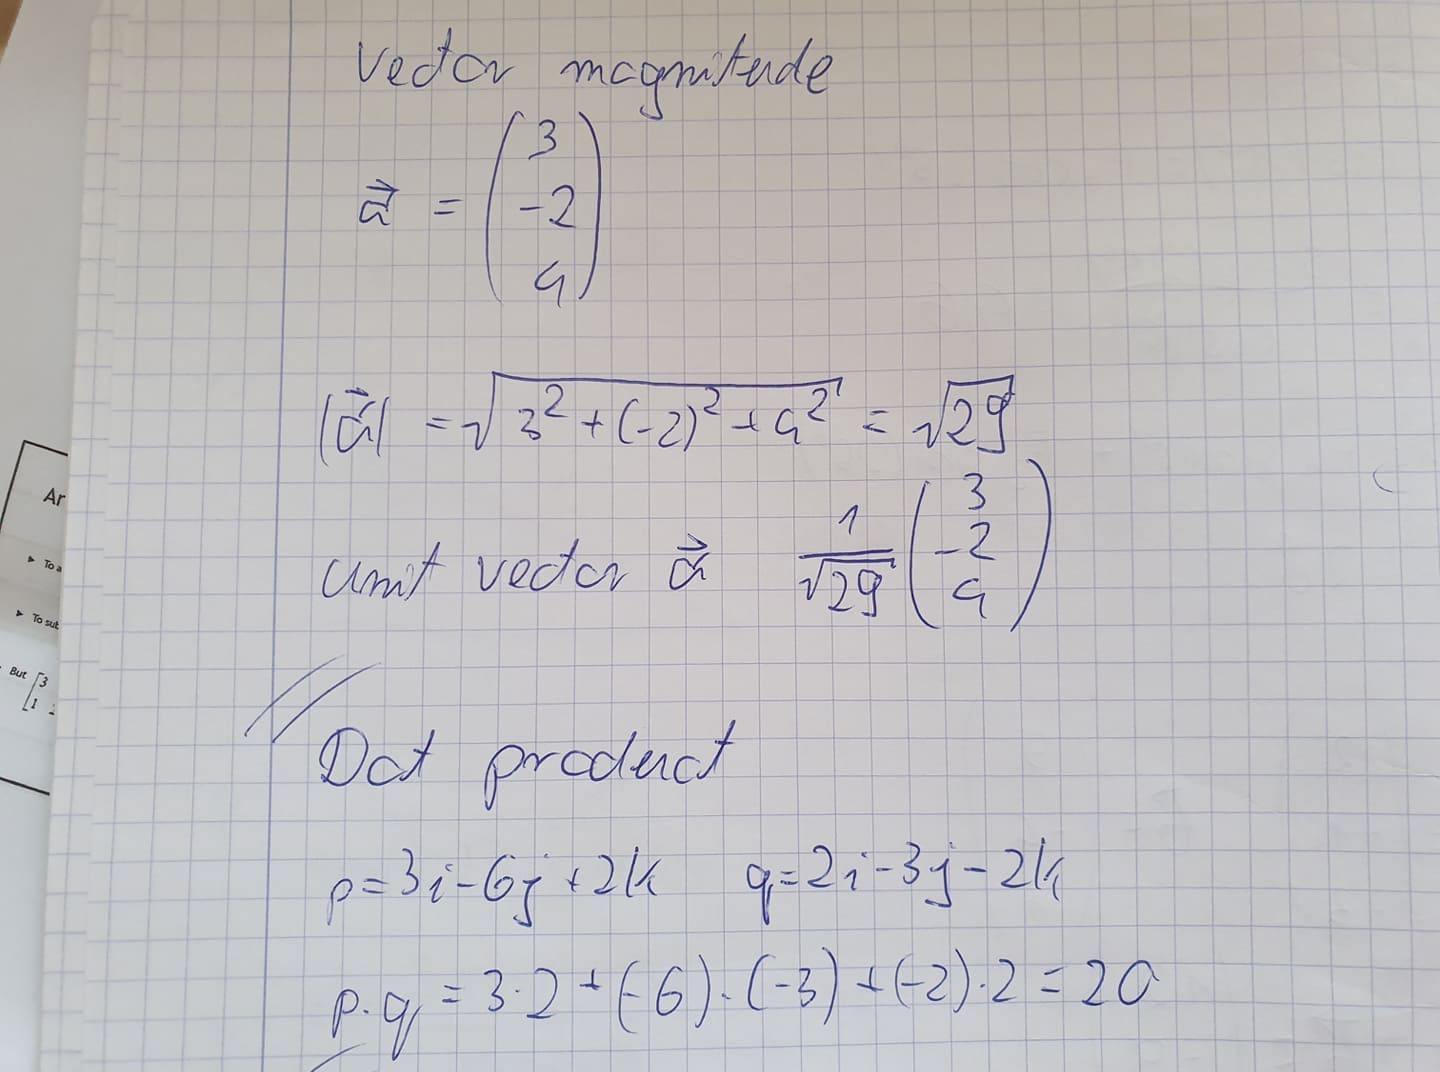
This week we were asked to do some math revision questions. This was bunch of questions that was related to the lecture from that week. I’m sorry for the quality of this work.

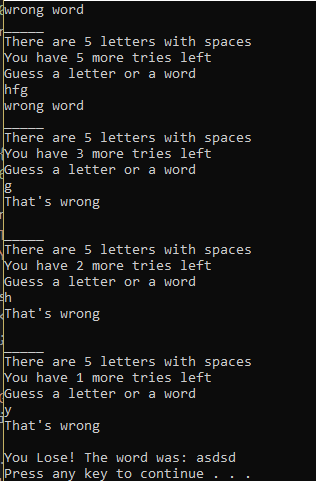
During the second week, we were asked to debug the C++ file, that contains the simple hangman game. I began by giving the variable q the value string.

Anc changing int w into int w = 0;
Then I fixed the while loop, to make it able to run, and indentation of the whole part.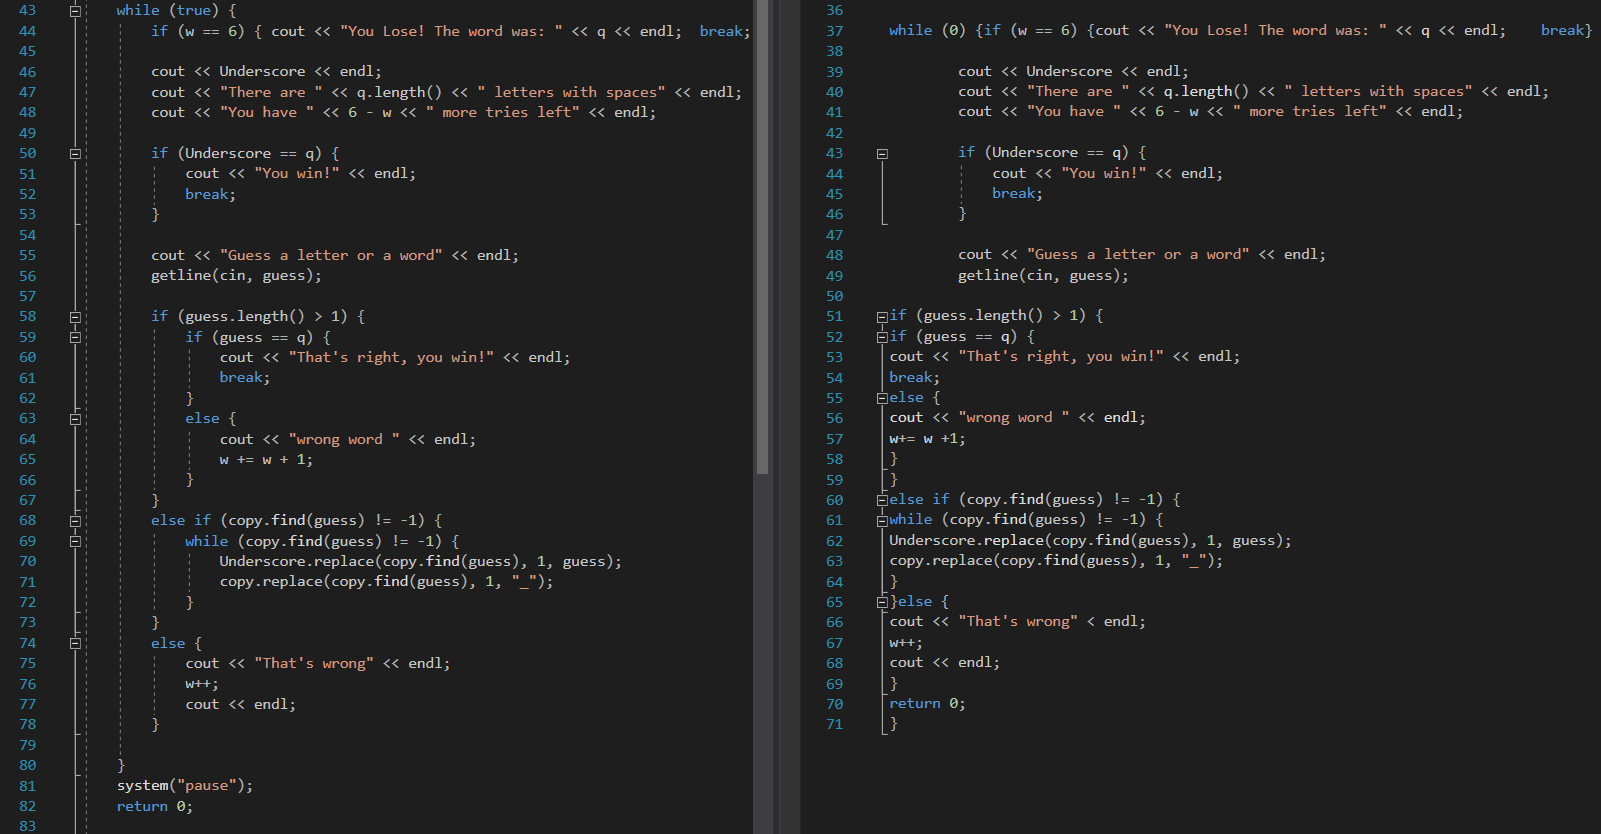
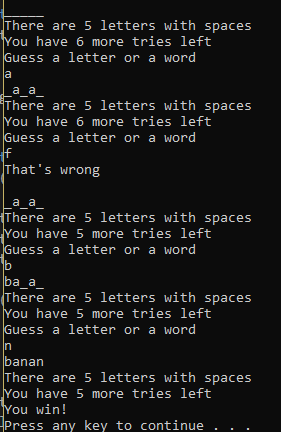
It made the script more readable and easier to debug. After some other small changes and adding the pause function at the end I was able to run and play the game in the console window.
During the second week of the Physics course, we expand the static scene from were we begin last week. Out task was to create an obstacle in my scene. At first, I configured the class for the obstacle, and Visual Studio automatically created corresponding to that header and CPP file. Then I follow the instruction in the tutorial sheet to configure obstacles to be displayed in the main game scene.
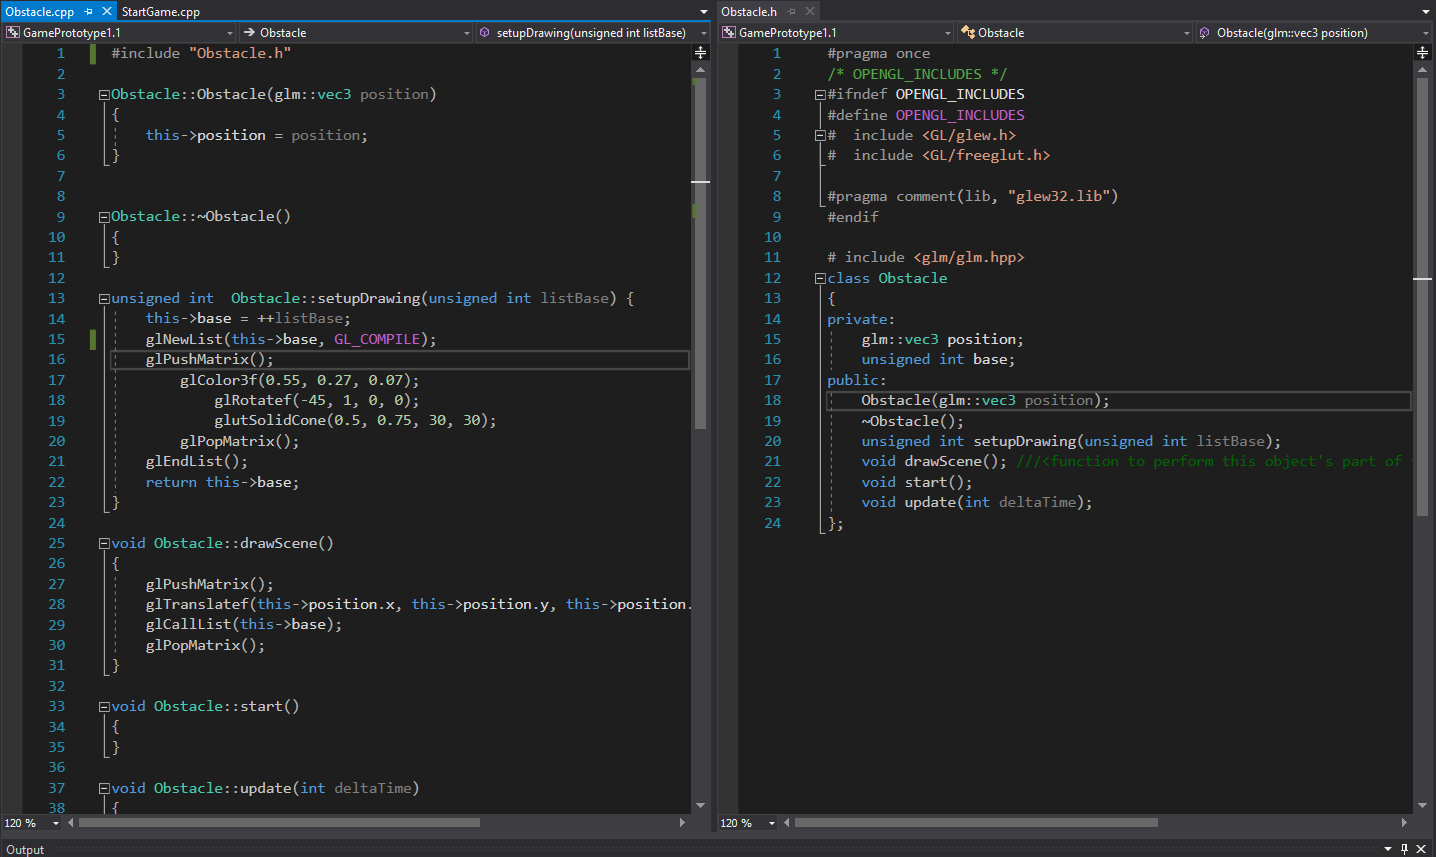
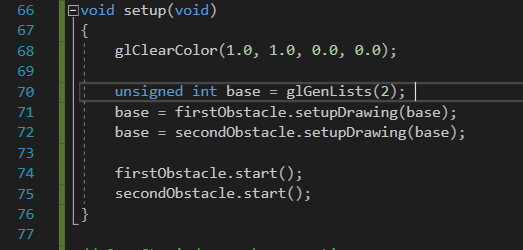
Then I assigned drawing in the StartGame.cpp

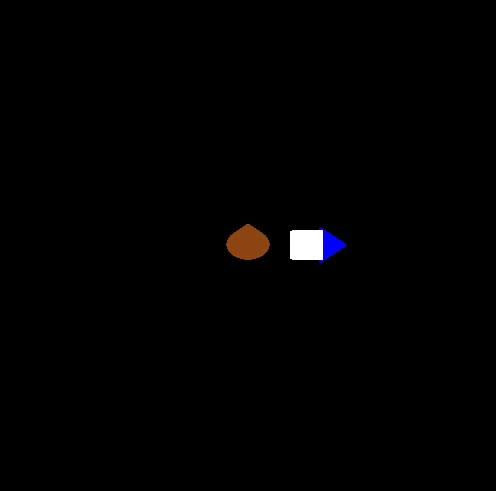
After doing all the coding I started the program and get this scene
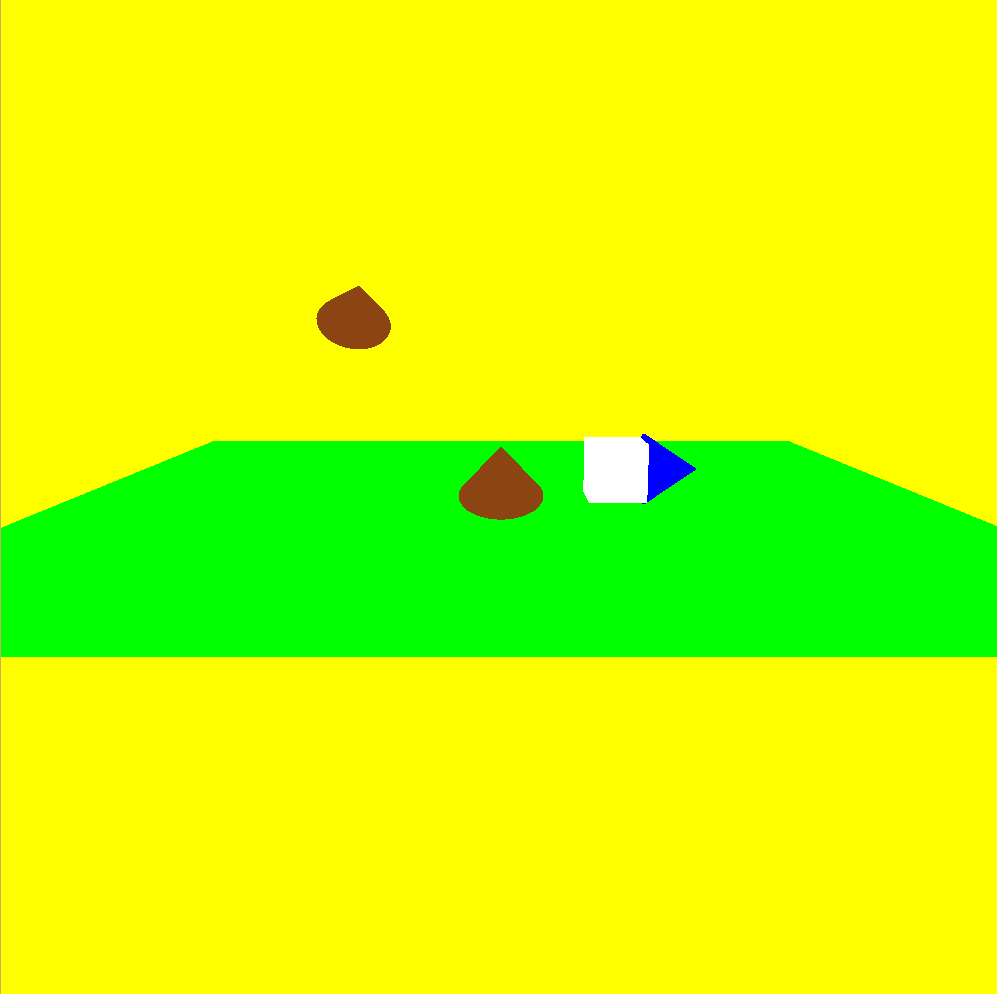
Very similar to that I did last week, but this time the obstacles are scripted in a separate file, and can be drawn easily in various positions.
During our introduction to the physics we were doing couple of introduction tasks during the lecture.


Introduction to the OpenGL physics began with setting the first project. After the initial struggle with including glew and freeglut with their dll files I finally set up the project.
After I started the code I received this image
I noticed that only 2 element from the 3 scripted are displayed.
After doing some research I noticed that I need to change the glutLookAt functions to change the camera position. After those changes I saw the scene from completely different perspective, that allowed me to see the grass field, that occurred to be the completely flat plane.
Before:
gluLookAt(0.0, 0.0, -10.0, 0.0, 0.0, 0.0, 0.0, 1.0, 0.0);
After:
gluLookAt(0.0, 2.0, -10.0, 0.0, 0.0, 0.0, 0.0, 1.0, 0.0);

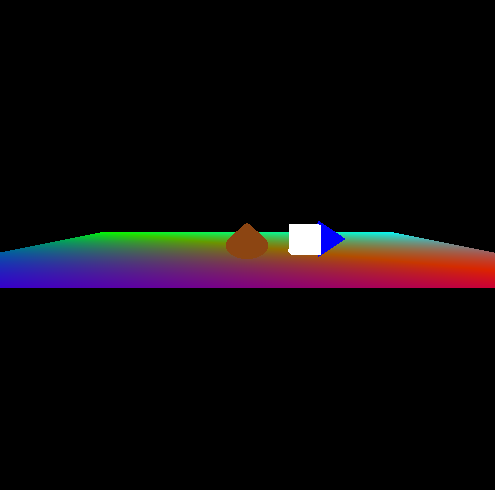
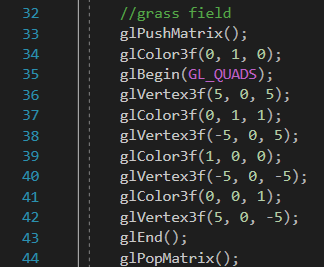
Then I starte playing with the layout and the colors of the grass field and I got this image.
To get the full understanding of the glutLookAt I did some research about it. It showed that there are 3 groups of x,y,z coordinates responsible for different things. The first is responsible for the camera position, second one for the point that camera is looking and the third one is responsible for the direction of Up vector.
void gluLookAt(	GLdouble eyeX,

GLdouble eyeY,

GLdouble eyeZ,

GLdouble centerX,

GLdouble centerY,

GLdouble centerZ,

GLdouble upX,

GLdouble upY,

GLdouble upZ);
